When it comes to access management, applying permissions or roles to each user one by one is cumbersome, so to solve this complexity, we have groups in Azure Directory.
We can group users to create group accounts and then apply the permissions or roles to the group so that all members of the group get that access.
Group accounts make access management easier. You can also synchronize groups from on-premises to the cloud, the same as with users.
Azure Directory allows you to create two types of groups,
1)Security Groups and
2)Microsoft 365
Let’s understand the differences between these types.
Security Groups play an inevitable role in access management. Security groups can be used to control access to resources easily. For instance, you can create a security group called HumanRes1 and give access to all HumanRes1-related resources. As an administrator, the advantage here is that you do not have to manage individual access; this can be controlled at the group level. Security groups require the Azure Directory Administrator role to perform management actions.
The other group is Microsoft 365. Microsoft 365 groups serve the same purpose as security groups; however, they provide additional capabilities such as access to a shared mailbox, shared calendar, SharePoint, and more. You can extend the collaboration and provide access to external users as well.
Unlike security groups, both users and admins can use Microsoft 365 groups. Another point to understand here is about membership to groups. You can add users as well as groups (nested groups) to a group as members. The rights can be accessed in three diverse ways, as follows:
1)Assigned This one is straightforward; this will let you add users (or groups) to the group as members. This type of addition is also known as direct membership.
2)Dynamic User Group memberships are controlled using member attributes; using them we can dynamically add or remove users from a group.
For example, you can have a rule like if the department of a user is HumanRes1, then that user should be added to the group HumanRes1.
Here Azure constantly reviews user attributes. If a new user is added with the department as HumanRes1, then Azure will add that user to the HumanRes1 group. Similarly, when someone leaves the department, Azure automatically removes the user from the group. This is especially useful
for administrators, as they do not have to remove or add access whenever a new user is added or removed; but they must make sure that the attributes are added to the user correctly.
3)Dynamic Device group; This is applicable only in the case of security groups and is like the dynamic user concept. The primary difference is that instead of looking at the user attributes, here you are looking at the device attributes. You can register or join your devices to Azure directory, and based on the device attributes, the group membership can be judged and controlled.
Viewing Groups in Azure AD
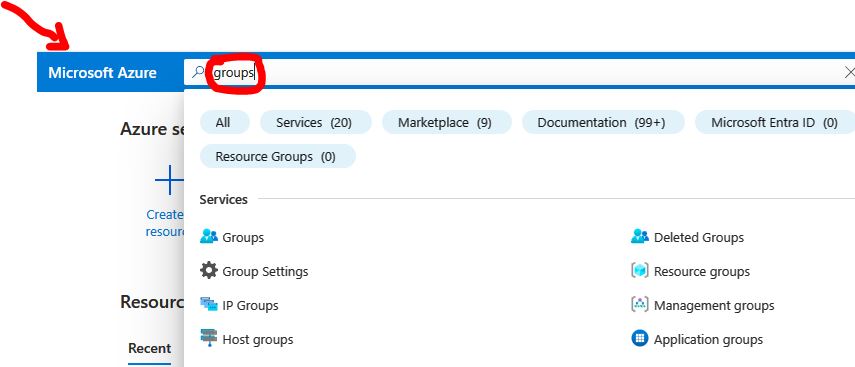
To view and manage groups direct yourself to the Azure portal to
reach the Azure Directory blade. Right below the Users option that we used earlier, you will be able to see Groups. Clicking Groups will take you to All Groups.
Let’s go to add a new security group and Microsoft 365 group. In addition of this we will see how you can work with dynamic rules and direct membership to these groups. We will create a security group called
Mateo’s group and add the users we created earlier via direct membership.
Adding Security Groups to Azure AD
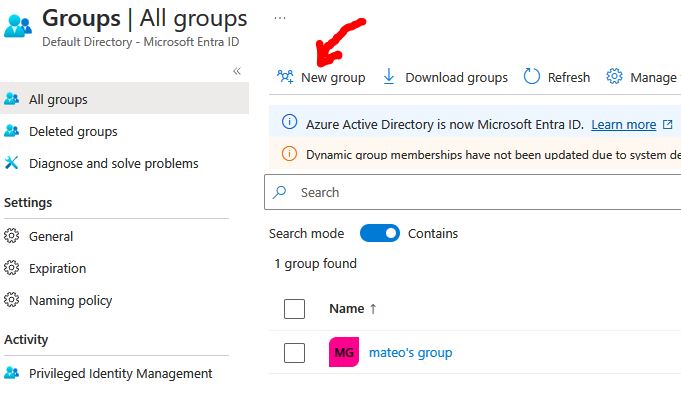
- Navigate to the Groups blade by following the steps below
you will be able to see New Groups option.

- Since our first task is to create a security group, you can see that we have selected the
following options:
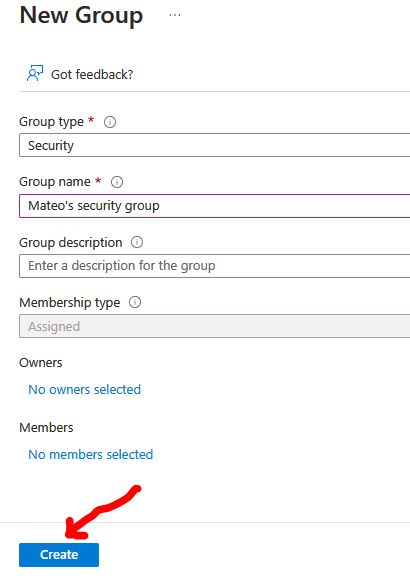
a. Group type: Security (as we need to create a security group).
b. Group name: Mateo’s security group
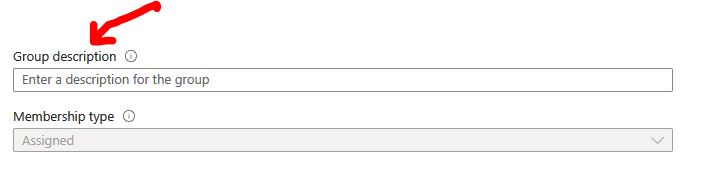
c. Group description: This field is optional; if you need to add a description about the
group, feel free to add it.
d. Azure directory roles can be assigned to this group: this setting needs to be enabled if you plan to assign roles to this group from an access management perspective.
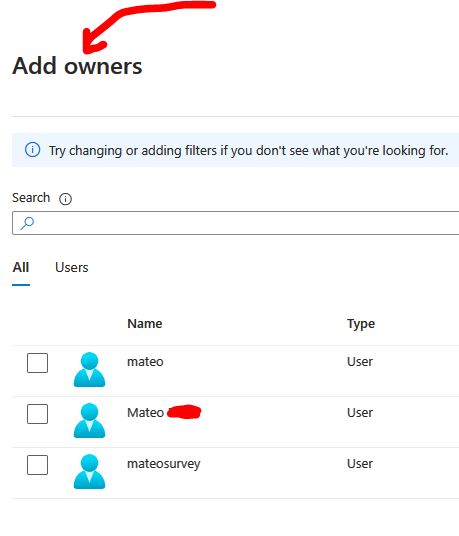
e. Membership type: Assigned (as we are going to perform direct assignment). Owners: You can select the owners for the group. This set of users will manage the group such as adding or removing users. You can search users, and add once you are done, click Select.
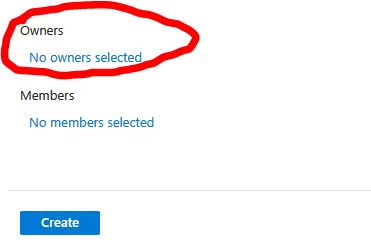
The new group window will now show the number of users you selected as owners and members. The next step is to click Create and create the group.
With this action we have seen how to create security groups on Azure.